Last Updated on January 11, 2025 by Practical Astrophotography Staff
Exploring the Cosmos from Your Backyard: A Journey into Astrophotography
The night sky has always been a source of wonder, mystery, and inspiration. For many, capturing this celestial spectacle through photography is a dream. However, with the advent of accessible technology and a bit of know-how, this dream can become a reality. Welcome to the world of astrophotography, where you can capture the beauty of the stars, planets, and nebulae right from your backyard.
The Basics of Astrophotography
Astrophotography isn’t just about pointing a camera at the sky. It’s an art and science that involves understanding your equipment, the night sky, and how to manipulate light to capture images that are not visible to the naked eye.
The first step in this journey is to understand the equipment you’ll need. Unlike traditional photography, astrophotography requires specific tools tailored for low-light conditions. A DSLR or mirrorless camera is essential, as these cameras allow for long exposures and manual settings crucial for star photography.
Next, you’ll need a lens with a wide aperture, ideally f/2.8 or wider, to let in as much light as possible. However, remember, the wider the lens, the more you’ll see the distortion at the edges – known as coma – which can be particularly noticeable with bright stars.
A sturdy tripod is non-negotiable. Stability is key when you’re dealing with exposures that can last for minutes. Even the slightest movement can blur your image, turning stars into streaks rather than points of light. If you’re looking at capturing the night sky’s deeper details, consider investing in a tracking mount. This equipment follows the Earth’s rotation, keeping your target in the frame despite the planet’s spin, allowing for much longer exposures without star trailing.
Setting Up Your Gear
Once you have your equipment, setting up for a night of astrophotography is both exciting and meticulous. Start by finding a location away from city lights, as light pollution can wash out the fainter details of the cosmos. The ideal spot would be in a dark sky area, but even a modest reduction in light pollution can significantly enhance your results.
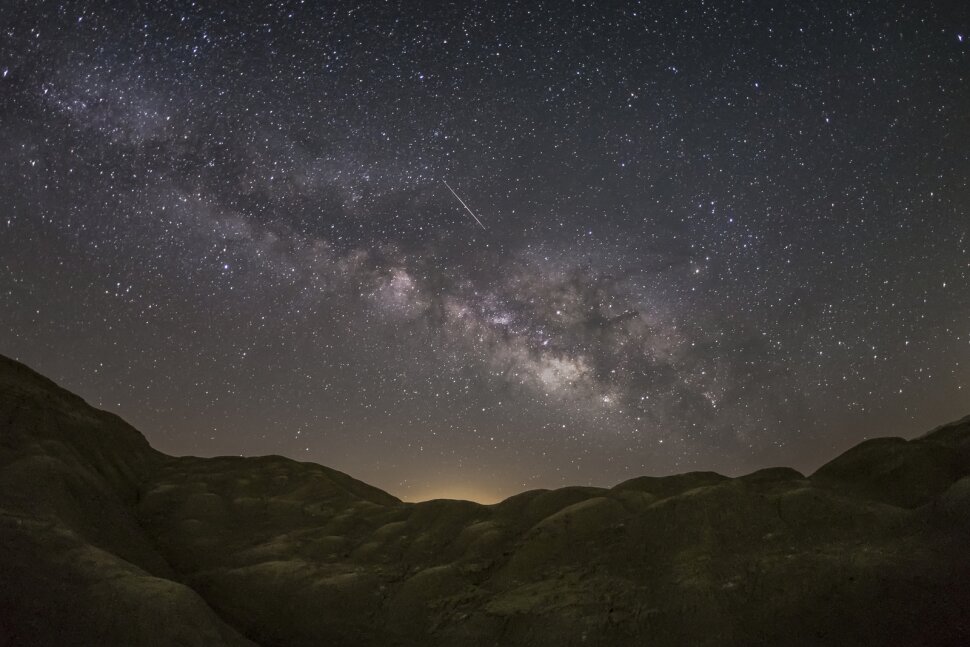
After choosing your spot, mount your camera on the tripod or tracking mount. If you’re using a wide-angle lens for capturing wide swathes of the sky, like the Milky Way, align your camera to point towards the darkest part of the sky, usually away from the horizon where light pollution might be more pronounced.
For those starting with simpler setups, manual focus is crucial. Autofocus rarely works in the dark, so switch to manual and use live view to focus on a bright star, adjusting until it’s as sharp as possible. This step might take some practice, but it’s fundamental for sharp images.
Capturing the Night Sky
Now, with your gear set up, it’s time to capture the sky. Begin with setting your camera to shoot in RAW format for maximum post-processing flexibility. Set your ISO high, around 1600 to 3200, to capture more light, though be wary of noise. Your aperture should be as wide as your lens allows, and the shutter speed depends on what you’re photographing. For wide-field shots like the Milky Way, you might use the ‘500 rule’ which suggests dividing 500 by your lens focal length to find the maximum exposure time before stars start trailing. For example, with a 24mm lens, you’d aim for a shutter speed of about 20 seconds (500/24 = 20.83).
For planets or the moon, shorter exposures are necessary, and a telescope might replace your wide-angle lens. Here, you’re dealing with much brighter objects, so lower ISO and faster shutter speeds can be used.
Processing Your Images
Capturing the image is just the beginning. The magic often happens in post-processing. Software like Adobe Lightroom, Photoshop, or specialized astrophotography programs like DeepSkyStacker or PixInsight can transform your raw data into breathtaking images.
Begin with basic adjustments – exposure, contrast, and color balance. Astrophotography often deals with extreme dynamic ranges; you’ll want to pull out details from both the brightest and darkest parts of your image. Noise reduction is another critical step as high ISO photography tends to introduce graininess.
Stacking is a technique where multiple exposures of the same scene are combined to reduce noise and enhance detail. This is particularly useful for deep-sky objects like galaxies or nebulae, where each image might only capture a faint signal of light.
Advanced Techniques
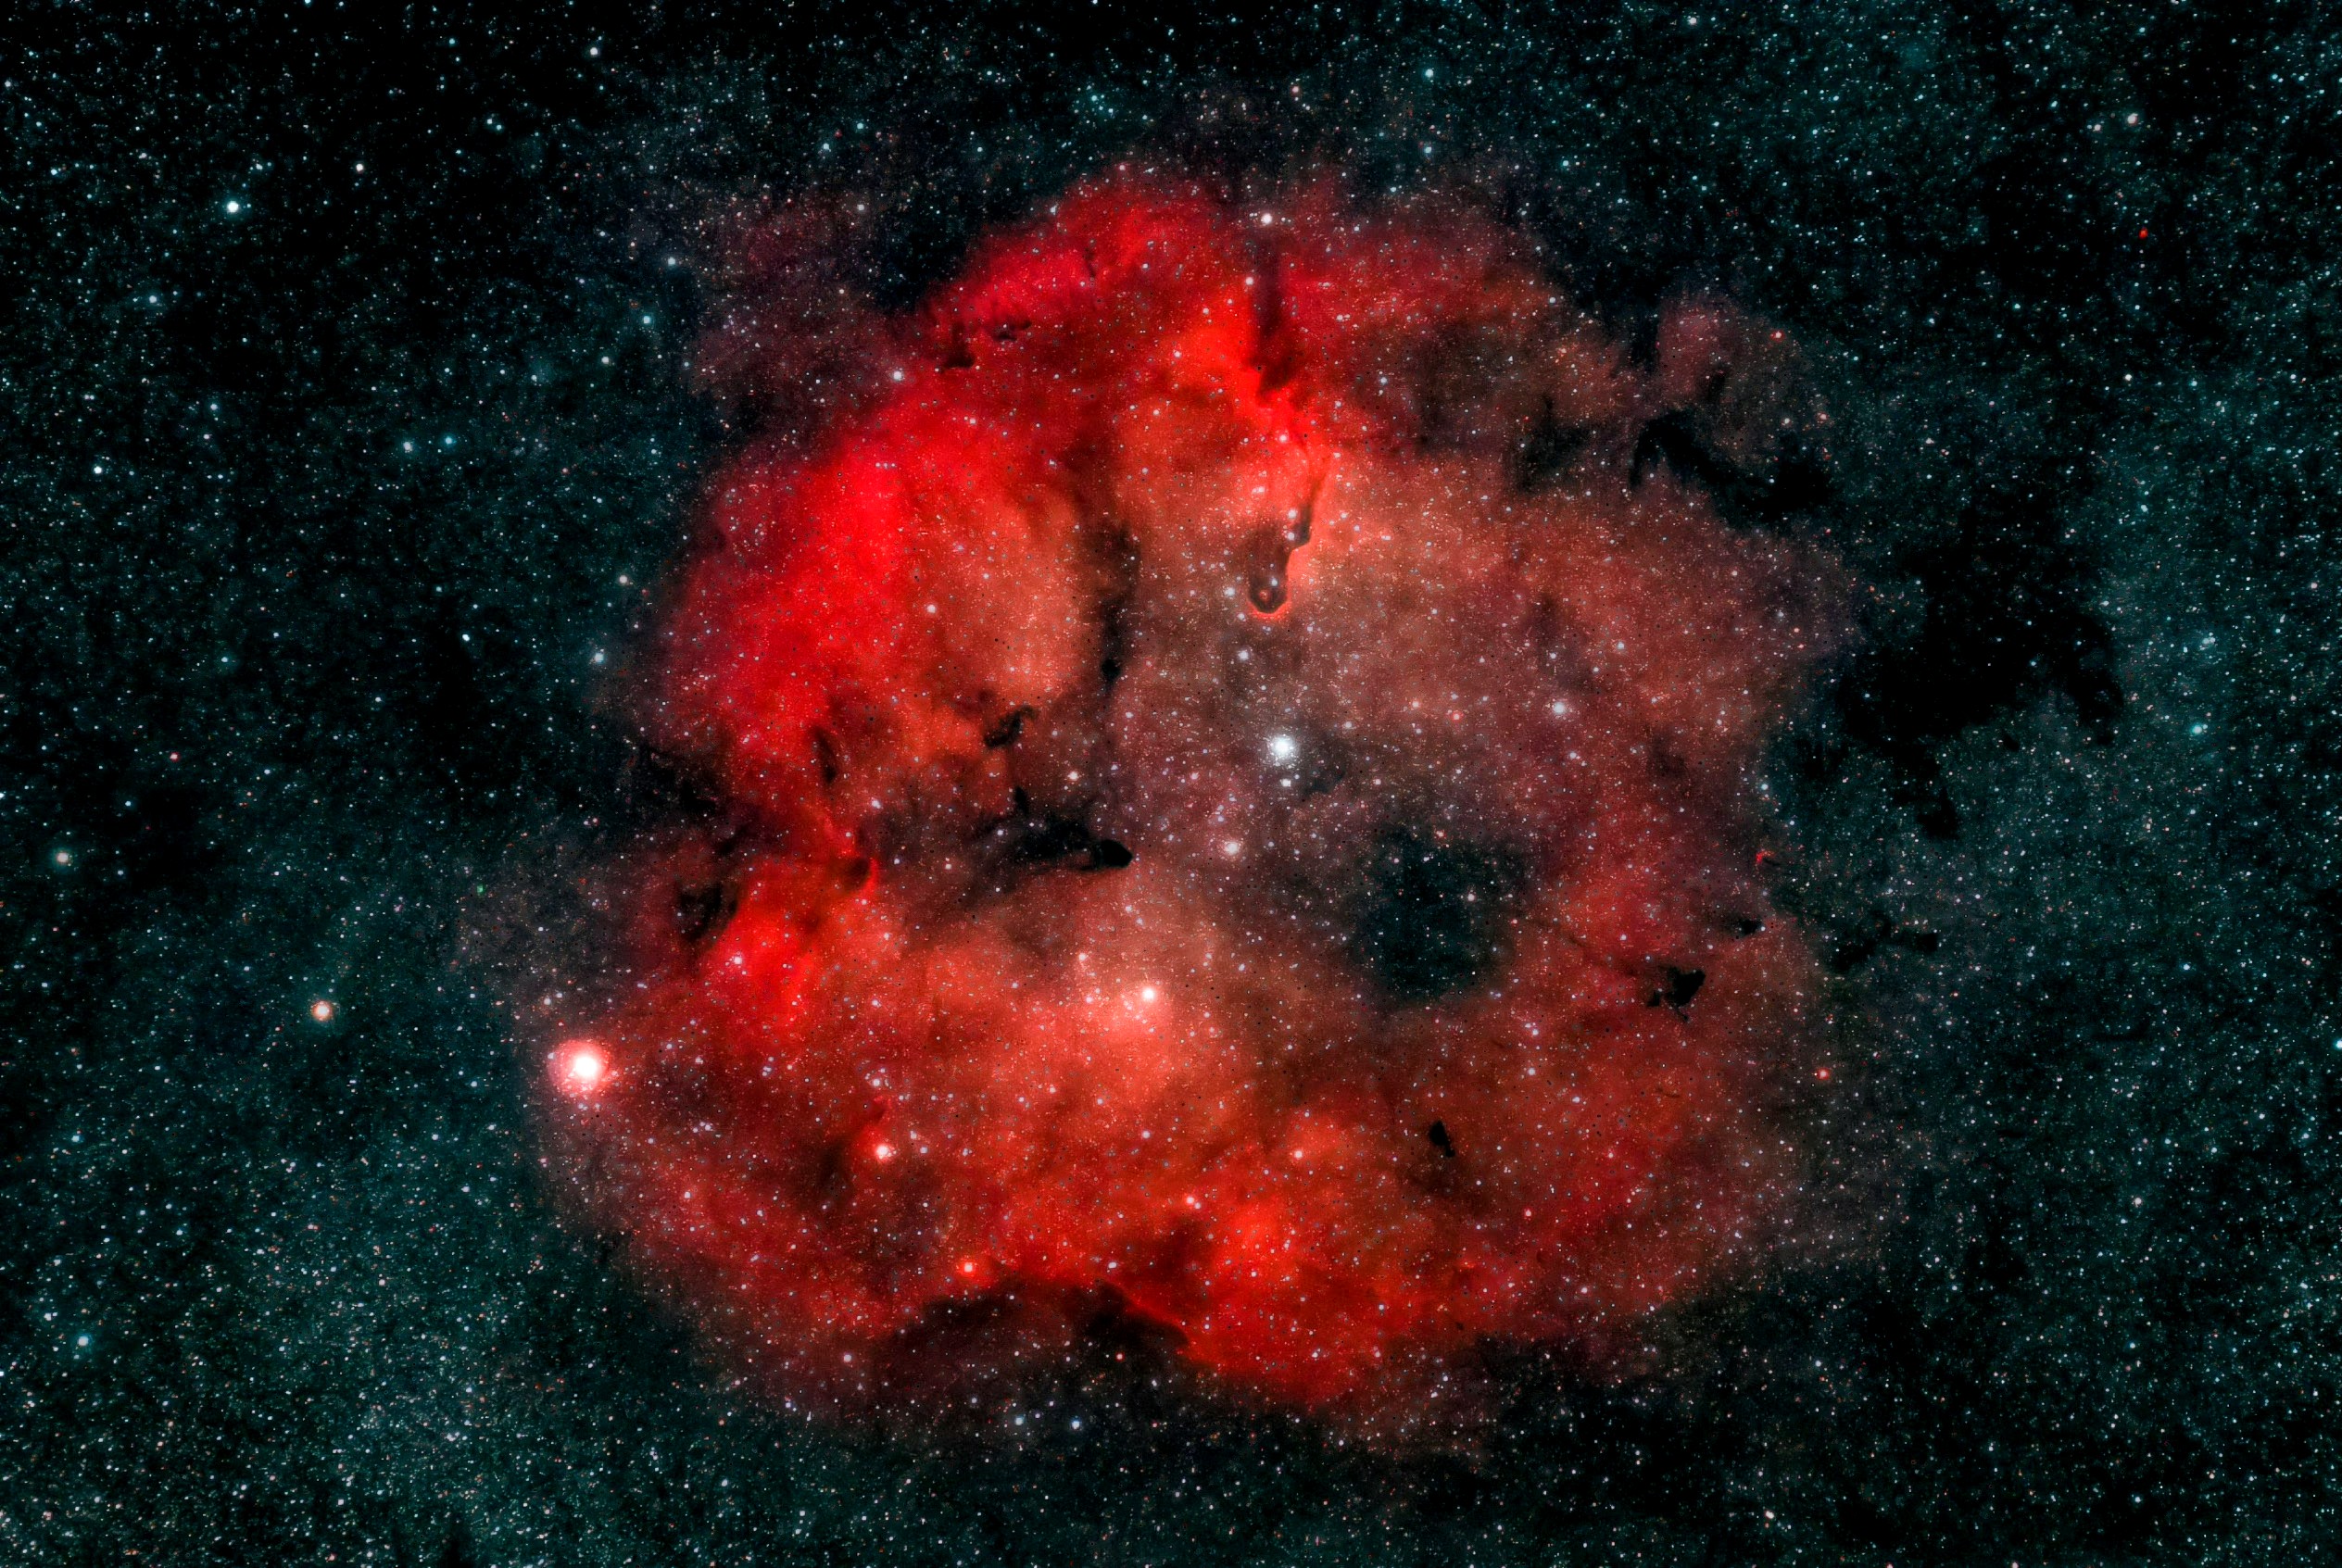
As you grow in your astrophotography journey, you might dive into more advanced techniques like narrowband imaging, where you use filters to capture specific wavelengths of light emitted by celestial bodies, revealing structures invisible in normal light.
Hydrogen-alpha filters, for instance, can show the intricate details of nebulae that are otherwise lost amidst the light of stars.
The Community and Beyond
Astrophotography is not just a solitary pursuit. There’s a vibrant community of enthusiasts, scientists, and artists who share knowledge, techniques, and their awe for the universe. Joining forums, attending star parties, or participating in online groups can not only enhance your skills but also connect you with like-minded individuals passionate about the stars.
Moreover, your journey in astrophotography can contribute to citizen science projects. Many organizations collect data from amateur astronomers to study phenomena like variable stars, asteroids, or even to hunt for new comets.
Final Thoughts
Astrophotography is a doorway to understanding our place in the universe. It teaches patience, precision, and appreciation for the night sky’s beauty. From the simple act of capturing the moon to the complex endeavor of imaging distant galaxies, every step in astrophotography is a step towards connecting with the cosmos.
Remember, every great astrophotographer started with a single shot of the night sky. With each image, you’re not just capturing light; you’re telling a story, exploring the unknown, and perhaps, inspiring others to look up and wonder.


