Last Updated on September 15, 2021 by Practical Astrophotography Staff
Make no mistakes: if you do astrophotography, you must learn how to edit your images. Problem is, this editing is often a long, complex and rather intimidating process.
This will take you through basic editing workflows for various types of astrophotography, from moon photography to star trails to deep sky photography. The aim is to provide you with the right tools and tips for you to start editing your own images.
Should you find terms you are not familiar with, we have recently published a useful glossary of terms used in astrophotography, which you can find here.
Image Stacking
Image stacking is the process to combine all your light and calibration frames into a single image. This is the only step that is central to editing any kind of astrophotography.
Stacking increases the signal-to-noise ratio, giving a cleaner and more detailed image.
In The Field
The work for image stacking begins in the field. Whether you are after a starry landscape or a faint nebula, take as many images (light frames) you can of your target.
While you are packing your stuff, take some dark frames. These will come in handy later on. Don’t forget to take them at the same temperature as your light frames.
At Home
Image stacking consists of three steps: image calibration (optional), alignment and stacking. Luckily, software is available to help you with the process.
Editing Strategies In Astrophotography
Since there is not a single workflow that will fit all cases, I will break down the subject in four case studies. For each case, I will focus on the key steps of the editing workflow.
Software
Dedicated software such Pixinsight is great, but such software usually has a steep price and learning curve.
The software I will suggest to you in this guide is mostly freeware and easy to use. The rest of the editing will be carried out in Adobe Photoshop and Lightroom.
Useful Software
The main difficulty in editing is to deal with a dynamic sky and a fixed foreground. Stars move between the different images, but the landscape does not.
Some useful software for stacking is:
Starry Landscape Stacker (free trial available, Mac OS X). This wonderful piece of software will make stacking an absolute painless process. The drawback is that RAW files are not supported. You need to convert them in TIFF with Adobe Camera RAW or similar software;
Sequator (free, Windows): as Starry Landscape Stacker, this software makes image stacking easy. It supports RAW files.
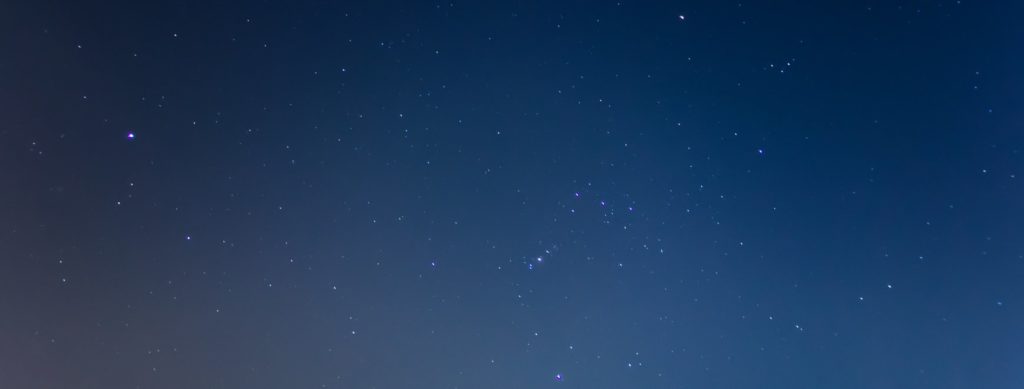
Finally, you can use Adobe Photoshop/Lightroom to edit your stacked image. Don’t bother trying to stack in Photoshop. It will probably fail to align your sky.
Deep Sky Stacker (Freeware, Windows) for astrophotographers that simplifies all the pre-processing steps of deep sky pictures.


